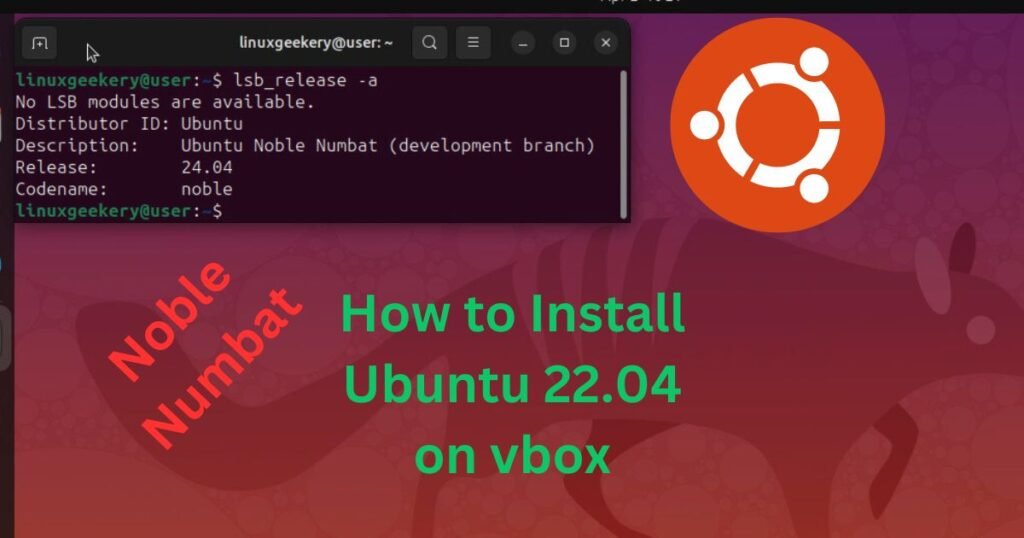
Well, Ubuntu 24.04 is here with us. A key concern is how to install Ubuntu 24.04 on Virtual Box. Like all newer Ubuntu versions, there are always better features and upgrades that you will enjoy, and Ubuntu 24.04 has plenty of them.
Ubuntu 24.04 takes the codename Noble Numbat, and one way of accessing it is by upgrading your older versions to Ubuntu 24.04. However, you can install it as a virtual machine on your Virtual box, which is what we focus on throughout this post. Let’s dive in!
Step-By-Step Guide to Install Ubuntu 24.04 on Virtual Box
Virtual boxes make it possible to use multiple operating systems easily by adding them as virtual machines. Even for Ubuntu 24.04, you can install it as a virtual machine, and the process is easy.
Here are the simple steps for installing Ubuntu 24.04.
Step 1: Download the ISO
You must have the Ubuntu 24.04 iso before we start the installation. Open your browser, visit the Ubuntu 24.04 site, and click on the downloads. The file is about 5GB, and a strong network will fasten the download.
Alternatively, use this link to access the page and download the iso file. For this example, we are using the daily build version. Once you’ve downloaded the file, move it to a preferred location where you will access it later.
Step 2: Create the Virtual Machine
Open up your virtual box and click on the New option at the top to bring up the window below. Next, start by adding the Name of the virtual machine. The type is Linux, and the version is 64-bit. Click Next to continue.

On the next window, allocate the memory and the number of CPUs for the virtual machine.

You then must specify the storage space to assign the virtual hard disk. Anything from 25 GB is okay.

Lastly, review the summary of all the configuration details. Once you’ve confirmed they are okay, click ‘finish’ to create the virtual machine.

Step 3: Add the Virtual Optical File
Our virtual machine has been created at this point, but we must point it to the ISO file we downloaded earlier. Click on the created virtual machine in your virtual box, then tap the Settings option at the top.
Next, click on Storage on the left sidebar. Under the Storage Devices, tap on the plus on the right of the controller:IDE.

On the window that will open, click on the Add button at the top.

Navigate to where you stored the downloaded ISO file, select it, and then click on the open button at the top.

Once the ISO is selected, it is added under the storage devices, as in the image below.

You are ready to start installing Ubuntu 24.04 on your virtual box.
Step 4: Start the Installation
Still, tap on the created Ubuntu 24.04 virtual machine on the virtual box, then click on the Start option at the top.

You will get a window prompting you to select what action to take. Go with the first option (try or install Ubuntu) and press the enter key to start the installation.

A series of on-screen prompts will appear on the window. Go through them, selecting what action to take. For instance, select what language to use, the region, etc.
When asked what action to take, confirm that you want to Install Ubuntu and continue with the prompts.

Also, specify that you want an interactive installation when asked how to proceed.
Next, select the option to “Erase disk and install Ubuntu.” That way, the created virtual disk drive will get wiped, and the space will be used for installing Ubuntu 24.04.

Step 5: Set Up Your Account
When you reach this window, specify your computer’s name, username, and credentials for the user account.

Step 6: Review Summary
As the last prompt, you will be presented with a summary of all the configurations you’ve selected. Confirm that it’s what you selected, then click the Install button to start the process.

Once Ubuntu 24.04 starts installing, a progress bar will display at the bottom, showing the process and progress.

The installation will take time. Thus, ensure you give it time until everything gets installed and Ubuntu 24.04 becomes ready for use.
Step 7: Verify the Installation
After completing all the previous steps, you can use Ubuntu Noble Numbat. Start by checking the lsb_release to confirm that we managed to install Ubuntu 24.04.
$ lsb_release -a

We did it! With that, you can enjoy all the new and cool features that Ubuntu 24.04 offers. Feel free to customize it how you like and explore it to get comfortable with its interface and other add-ins.
Read Also: How to Change Hostname in Ubuntu.
Conclusion
Anyone can install Ubuntu 24.04 in a virtual box, provided they have the steps to follow. This post has presented a step-by-step guide that holds your hands on everything you should do to install Ubuntu 24.04 quickly. Hopefully, the insights gained after reading this post will help you install Ubuntu Noble Numbat. Have fun!


